As it is nearly Valentine's Day I thought I would share the Valentine's card and gift box in one I have made....
How did I do it....
I used my trusty guillotine (a must have in my Craft Den) to trim A4 Pearlescent card to 14x28cm. The colour is a pretty pink and the light reflects different shades off the pearlescent finish.
 |
The card was folding in half and folding one half in half again to make it an easel card.
 |
The stopper to make the card stand up as an easel was made by stamping the sentiment from the Wild Rose Vintage Heart stamp set " you have stolen my heart". This set has such a romantic feel and co-ordinates with other stamps I have from their range.
I stamped on to the pearlescent card in peony coloured ink and used clear embossing powder to give it a slightly raised and shiny effect. This was mounted onto silver mirror card for a border and attached to the card with a 3D foam pad to create a stopper.
 |
| Wild Rose Studio, Vintage Heart Clear Stamp Set |
 |
I used the Spellbinders Nestabilities Die, Wavy Rectangles on white card to write a personal message. I used Distress Ink in Tattered Rose to give it a blush look
I love creating my own background designs on plain card. For this project I stamped the heart from the Wild Rose Vintage Rose stamp set in 2 colours randomly, peony and lilac, then highlighted areas with iridescent glitter. |
I stamped twice before re-inking to give a shadow/paler impression giving the design more depth.
 |
| I stamped the same design on to the sides of the box |
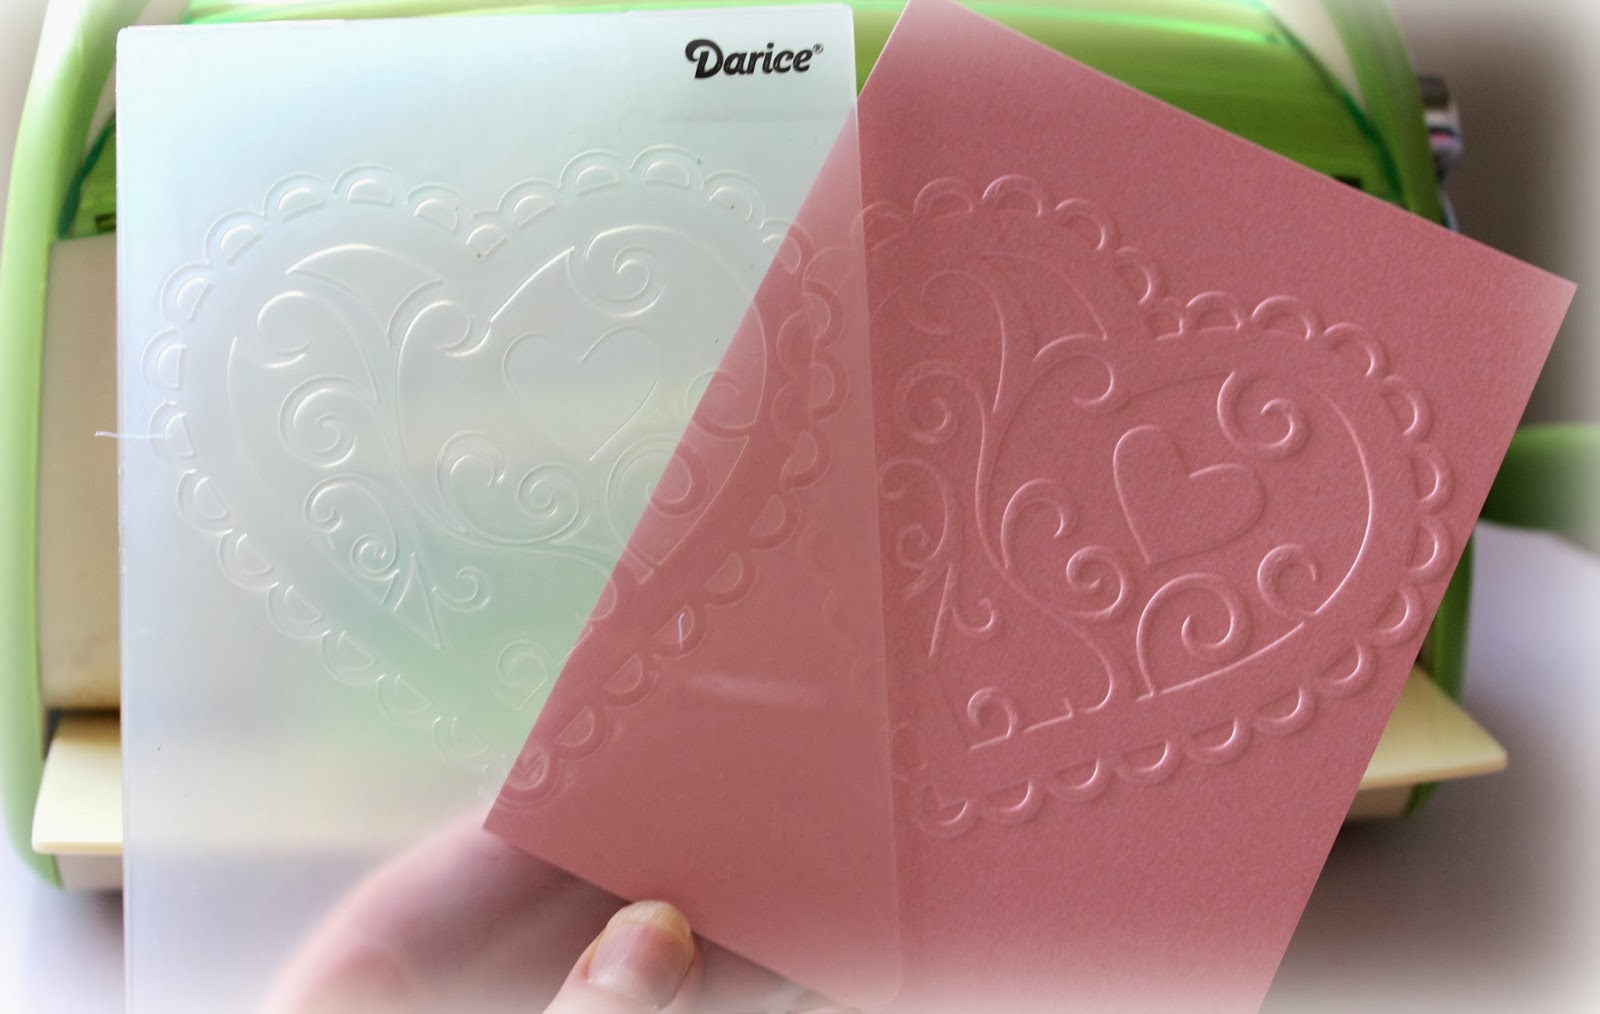
I am a big fan of embossing folders, I have a drawer full and when I think I possibly can't need anymore I see ones like this Darice Valentine's Heart. I used the pearlescent card again to emboss this design and cut it out the heart, cutting off the scalloped edge. I embossed the heart again using American Crafts textured card in Blossom, I cut this out so when I glued the pearlescent heart on top of the textured card the scalloped edge of the blossom can be seen.
 |
| Darice Valentine's Heart Embossing Folder |
 |
I use a Cuttlebug (aka Colin!) for my embossing and die cutting
|
I love the metallic sheen effect gilding wax gives to an embossed or textured design, I used Cosmic Shimmer Golden Lilac Gilding Wax over the embossed heart.
I used the same heart stamp on white card and I cut this out and glued to the small heart of the embossed design. I used the same technique to embellish the drawer to the box.
I had a scalloped heart in silver mirror card in my crafty stash which made the topper pop.
The gift box was made to have a drawer to fit a small gift , measuring 14x14x3cm, perfect size for yummy chocolates or jewellery (I can but only hope!).
It is best to use wet glue to make a box, I use pegs to hold the shape whilst the glue dries.
I hope you liked my first crafty technique post, what do you think?
What I used
From Handy Hippo....
Darice Embossing Folder, Valentine's Heart
American Crafts 12x12 Textured Cardstock - Blossom
A4 Pearlescent Card by Centura Pearl - Fresh Pink
Wild Rose Studio Clear Stamp Set, Vintage Heart
Finger Lift Tape
Silver Narrow Ribbon
Inspire Me Card Snow White
Creative Expressions Gilding Wax, Golden Lilac
Spellbinders Nestabilities Die, Wavy Rectangles
From my crafty stash....
Silver Mirror Card
Various colour ink pads
Wet Glue
Pearl effect embellishments
3D Foam Pads
Clear embossing powder
Distress Ink
Glitter
This tutorial is for non-commercial use only. You can use it to make as many cards for yourself, gifts or to raise funds for a charity but please don't make any to sell for profit.
If you want to blog about this project, remember to credit me and link back to this page on my blog. Please ask permission before using my photography and please do not reproduce my entire tutorial on your site. Thank you


No comments:
Post a Comment
Thank you for leaving a comment! I love to hear from you, whether you just pop by to say hi, share your experiences or want to give me feedback. I appreciate your comments and love reading them.