It's time for my second guest and I am very pleased to have Rachel sharing a knitting tutorial. I've not featured knitting on this blog before as I don't knit but I do love yarn! So I'm happy Rachel agreed to share her knitting knowledge with us.
Rachel has recently moved to the UK from New Zealand and is a multi talented lady, not only does she knit but Rachel can also play the ukulele.
Over to Rachel....
So you want to become a sock knitter. Welcome! Your life is about to become a whole lot more interesting.
This tutorial will run you through the steps, and show you how to knit a basic toe up sock. Socks vary tremendously in the details, but they share enough characteristics that once you've knitted this sock and a cuff down sock (a tutorial on this will be available soon on Rachel's blog), you will have the skills to knit just about any sock pattern there is.
Why knit socks?
Socks are wonderful. They’re everyday, almost-all-year-round items (this depends on your climate, but you’re more likely to wear a sock than a scarf in summer!). They’re small enough to throw in your handbag, and have a small enough profile that you can knit on the bus without knocking elbows with your neighbour.
Plus: sock yarn is beautiful. Brights, pastels, solids, stripes or patterns, there’s a sock yarn to suit you, in merino, nylon, cashmere, silk or handspun.
Convinced? Then let’s get started.
What you need to knit socks
First, you need a ridiculously small pair of circular needles. 1.25mm if you’re a loose knitter, or 1.75mm if you tend to knit tightly. You can also use DPNs, if you prefer (but I don’t). I magic loop, so I'm presuming you’re doing the same.

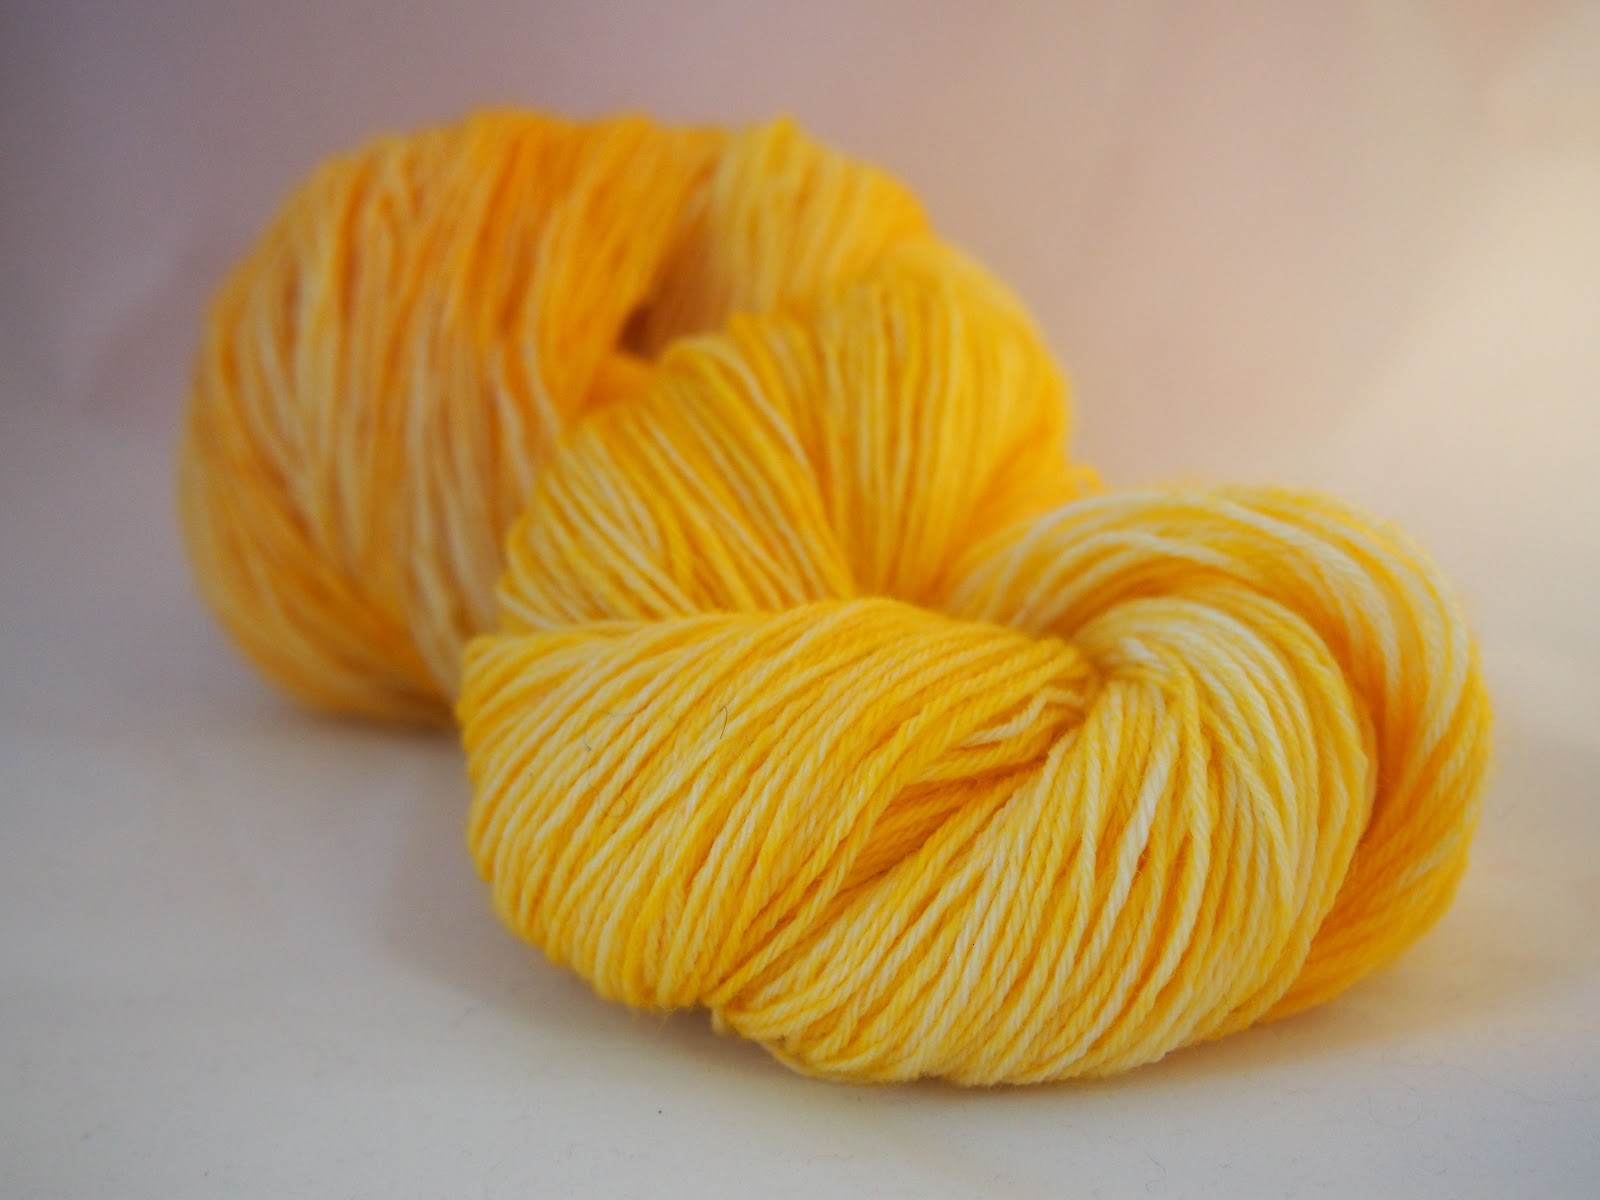
Next, you need sock yarn to put on your needles. Look for a tightly plied yarn, which is likely to wear better – if it contains nylon that’s better still. But if we wanted socks to last forever, we’d knit with steel wool. What we want is a lovely experience from start to finish, so pick a yarn which you enjoy touching, in colours which sing to you.
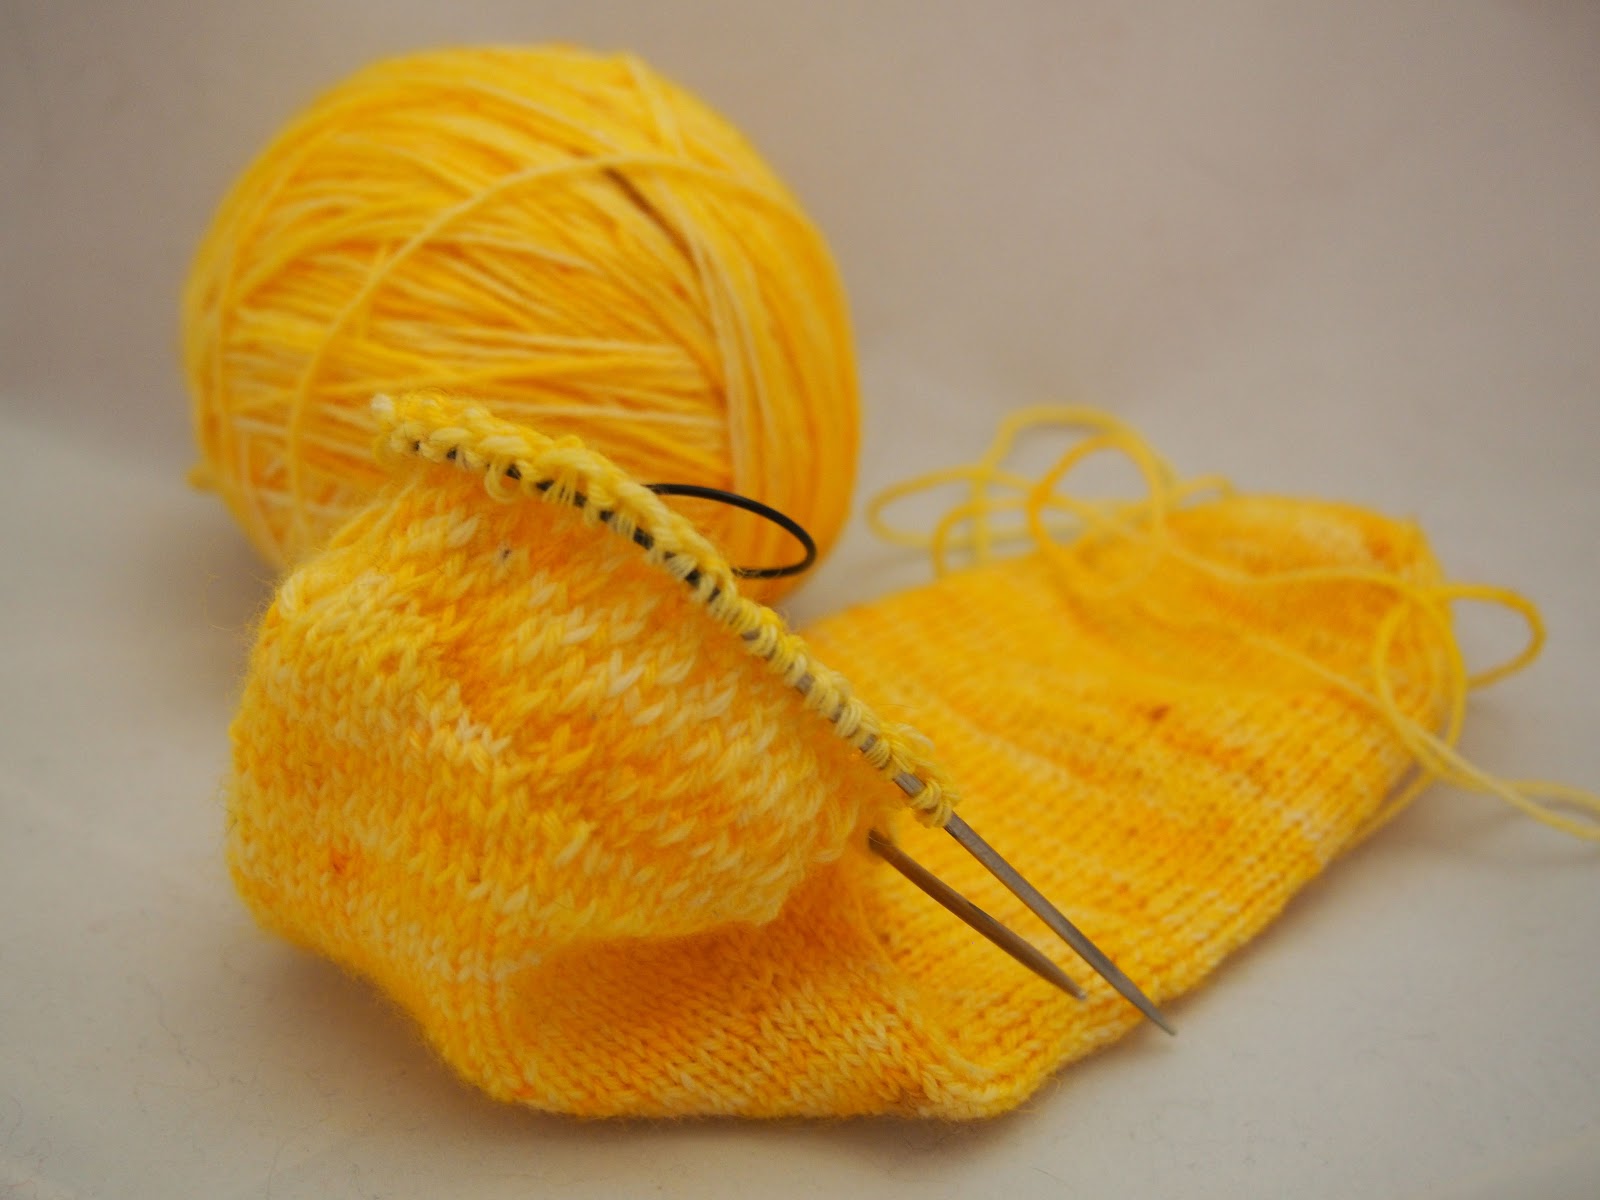
In the examples I'm using a 100% merino base, which I dyed myself with Kool-Aid (that could be a tutorial in itself… (keep an eye out on Rachel's blog for that!)
Finally, you need a locking stitch marker or two and a yarn needle for weaving in ends.
A word about gauge
Socks need to be knit at a nice tight gauge so they wear well. Think about other things you've knitted, a lace shawl wrapped around your foot (heavens forbid) would be shredded to pieces in an afternoon. A hat would hold up much better. What’s the difference? Lace, of course, has holes in it, while hats tend to be knit more closely. We want to knit tightly, while still allowing the sock (and the foot!) to move.
Aim for a gauge of about 10 stitches per inch, or, more importantly: a fabric which is comfy for you to create (no hand cramps!), looks nice, and isn't too stiff. Because socks are so small and knit in the round, there’s not much point in making a gauge swatch – it will take you longer to do that than it would to cast on and rip out!
I have given a stitch count but not an exact gauge in these patterns, because the fabric is what’s important. You can try on your sock as you go, and even if it doesn't fit you, it will fit someone. Socks make marvellous Christmas gifts.
Sock Knitting Techniques
As well as ribbing, and increasing and decreasing, socks use a few more advanced techniques:
Technique
|
Toe Up
|
Casting on
| |
Turning the heel
| |
Casting off
|
This tutorial contains links to videos which will walk you through any unknown techniques. This pattern calls for ribbing, so you must be able to knit and purl! It also calls for increases and decreases - I have used knit-front-back and knit 2 together throughout, but you can use whatever increases and decreases you choose.
Simple Toe Up Sock Pattern
These socks are a little different from your “usual” toe up sock, as they contain a heel flap! While these instructions seem long, I've broken them down into their component parts - each section really is quite easy.
Toe
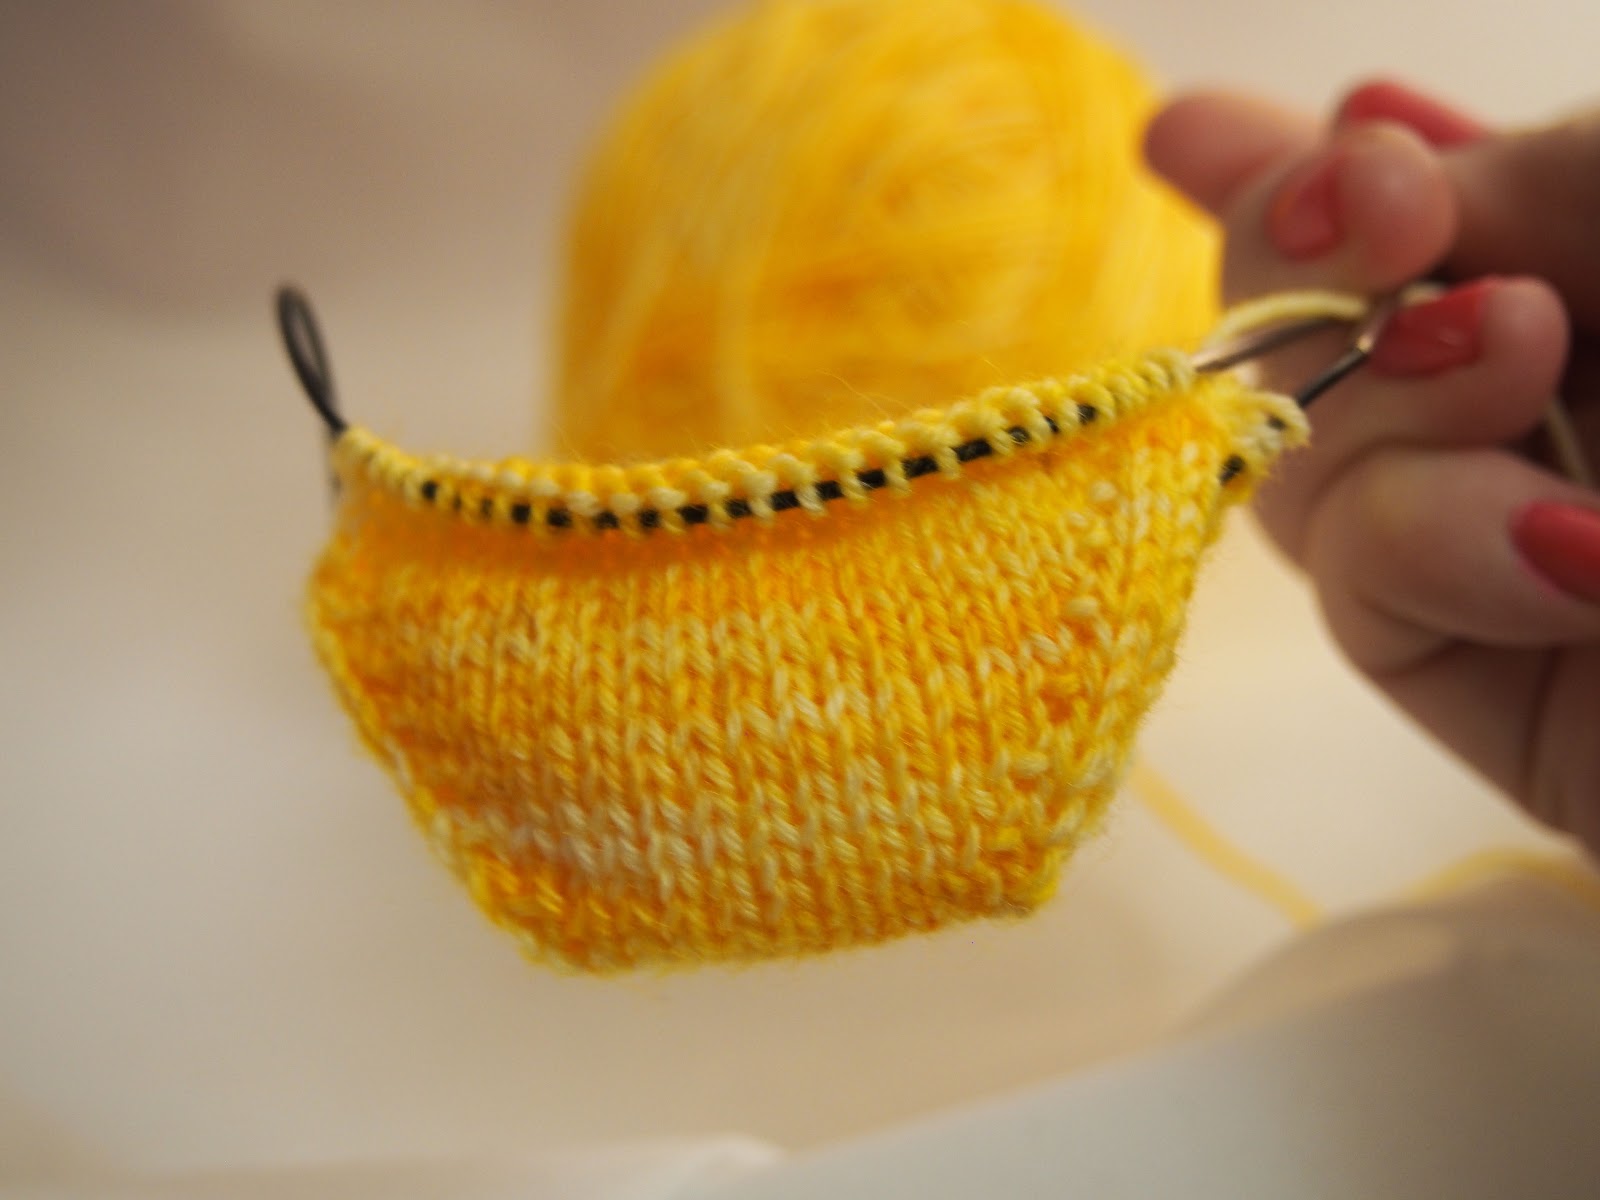
Using Judy’s Magic Cast On, cast on 24 stitches - 12 on each needle.
This cast on takes a little practise, but if you've worked the long tail cast on, you should get it quickly. It’s the sort of thing that’s best explained visually, so watch this video.
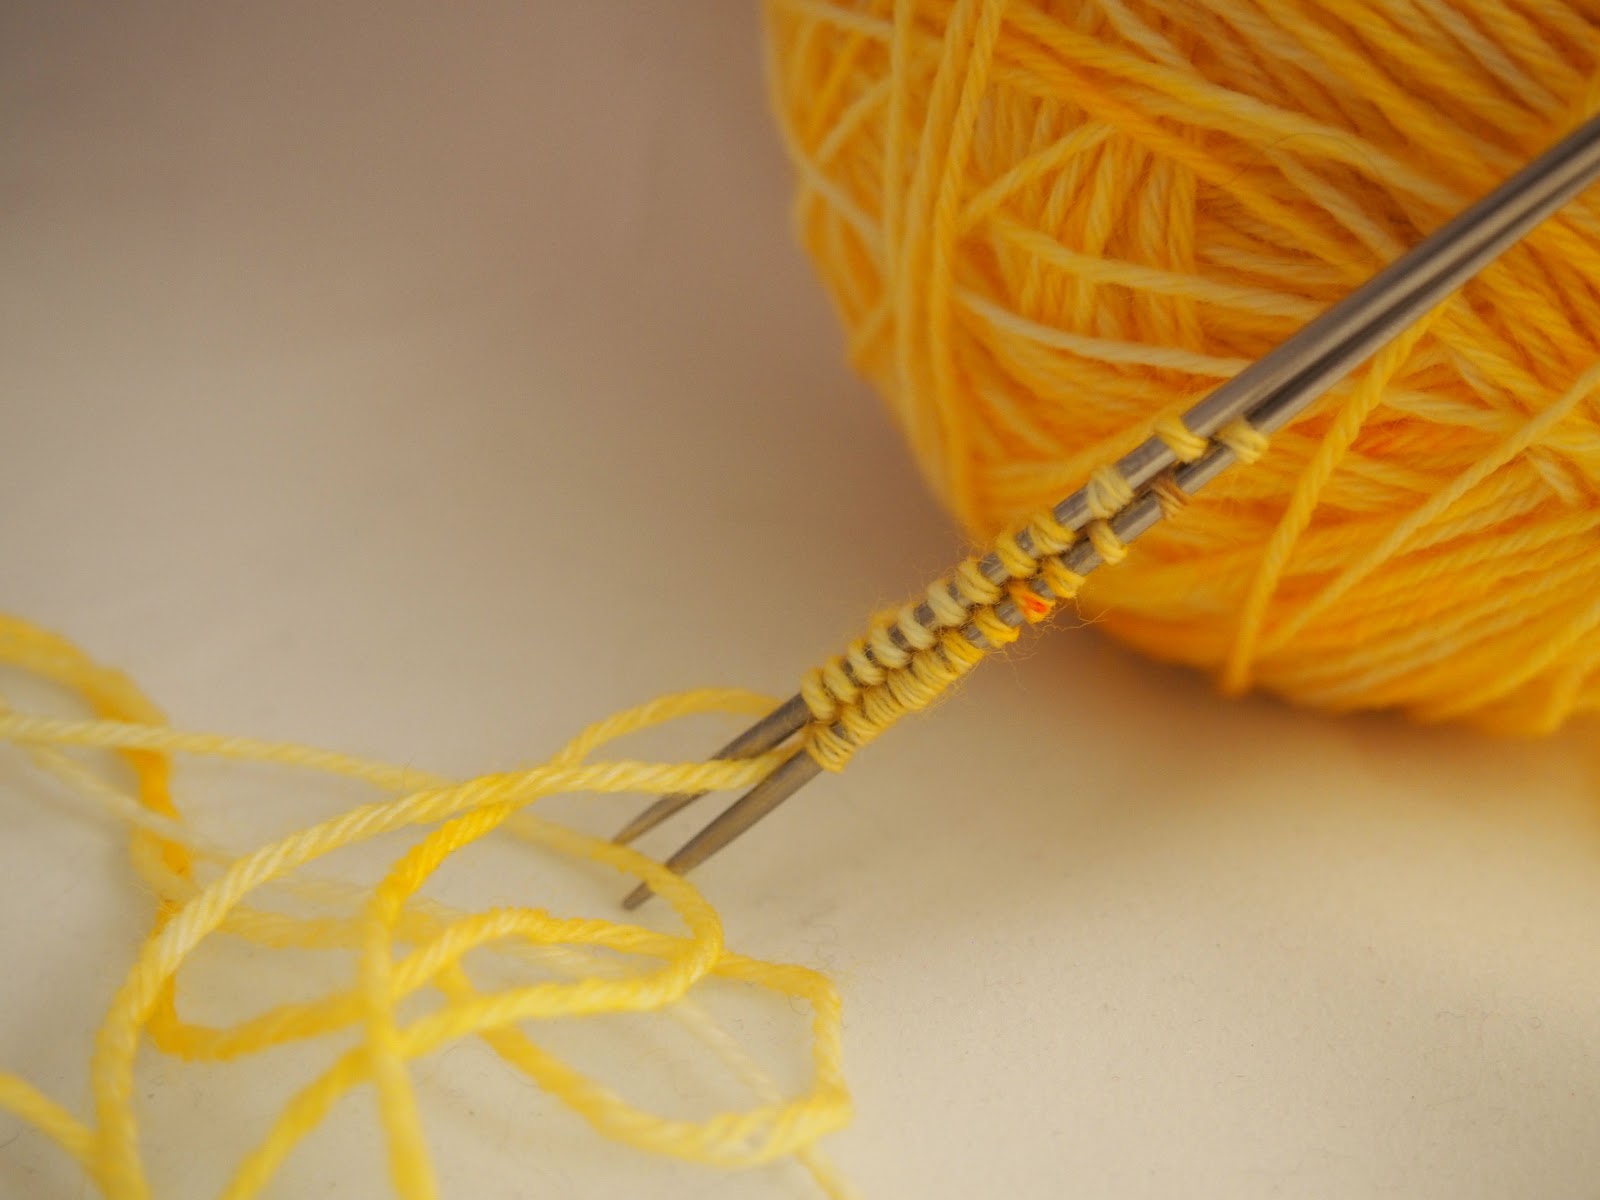
Once you've cast on, we can begin the toe!
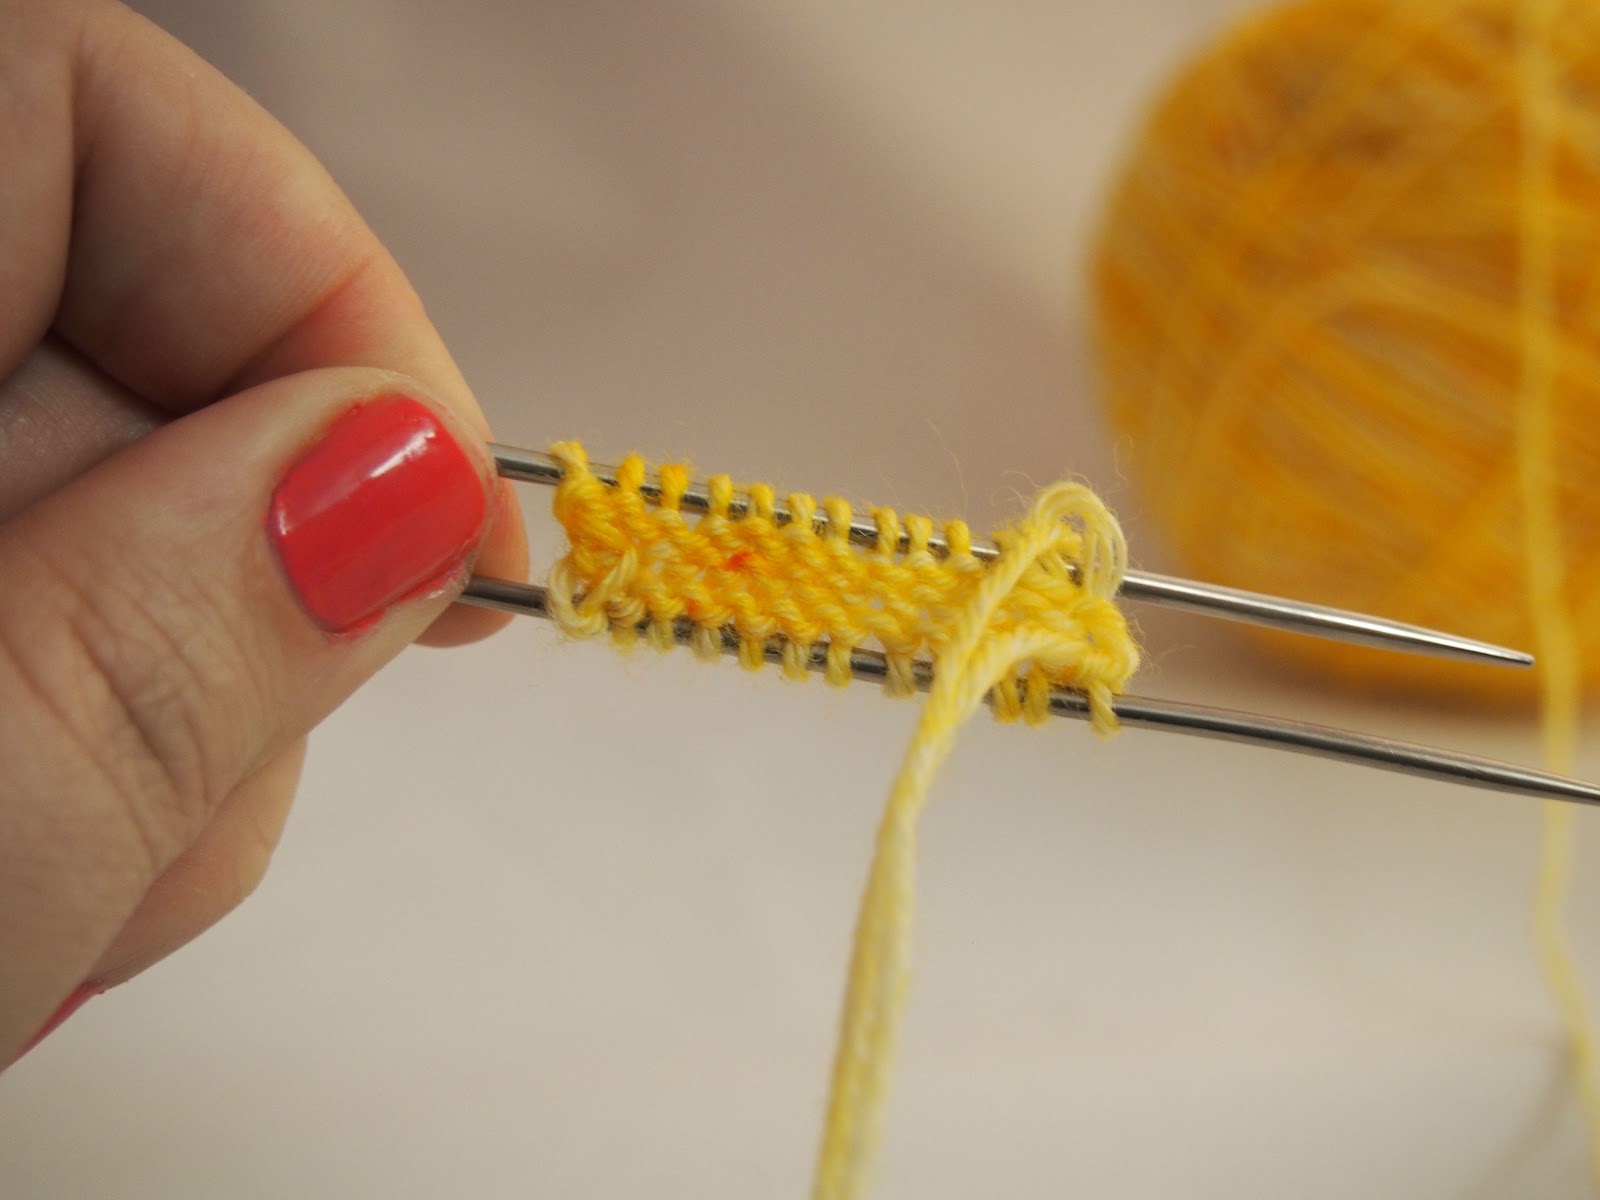
- Round 1: Knit. Place a marker after 12 and 24 stitches, so your sock is in two halves.
- Round 2: Knit 1, increase, knit until one stitch before end, increase, knit 1.
- Repeat rows 1 and 2 until you have 56 stitches. Try it on! It should fit over your first four toes, with your pinky sticking out the cold. If your sock is too small, increase a few more stitches. If it’s too big - I'm sorry, you’ll have to rip back and stop increasing at an earlier point. If you make any changes, make a note of your stitch count.
Foot
Knit until the foot reaches the front of your ankle joint, where your leg hits your foot. This instruction always confused me when I was a baby knitter (the foot joins the leg all the way round! I wailed, until a knitting friend corrected me). To save you my confusion, I've made you a diagram, originally shared over at my blog.
Knit until the foot reaches the front of your ankle joint, where your leg hits your foot. This instruction always confused me when I was a baby knitter (the foot joins the leg all the way round! I wailed, until a knitting friend corrected me). To save you my confusion, I've made you a diagram, originally shared over at my blog.
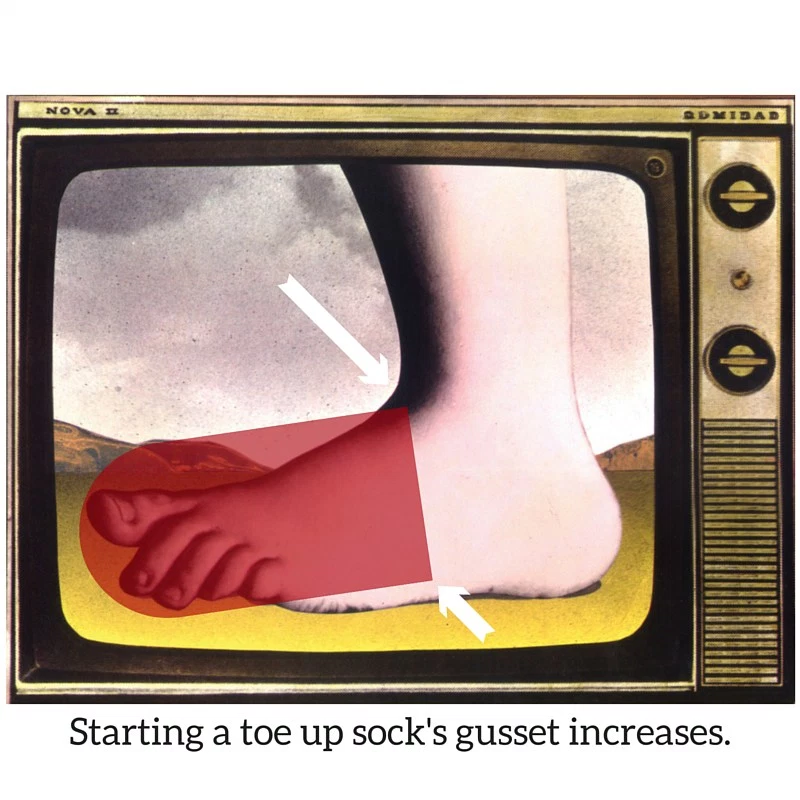
Gusset Increases
(“What’s a gusset?” A gusset is a wodge of extra fabric. In knitted socks, it adds room to hug your instep, and give the heel extra space.)
(“What’s a gusset?” A gusset is a wodge of extra fabric. In knitted socks, it adds room to hug your instep, and give the heel extra space.)
- Round 1: Knit
- Round 2: Decide which side is going to be the top of your sock. It will always be knit plain. Knit the top of the sock, then slip marker, knit 1, increase, knit until one stitch before end, increase, knit 1.
- Repeat rounds 1 and 2 ten times - you will have increased by 20 stitches.
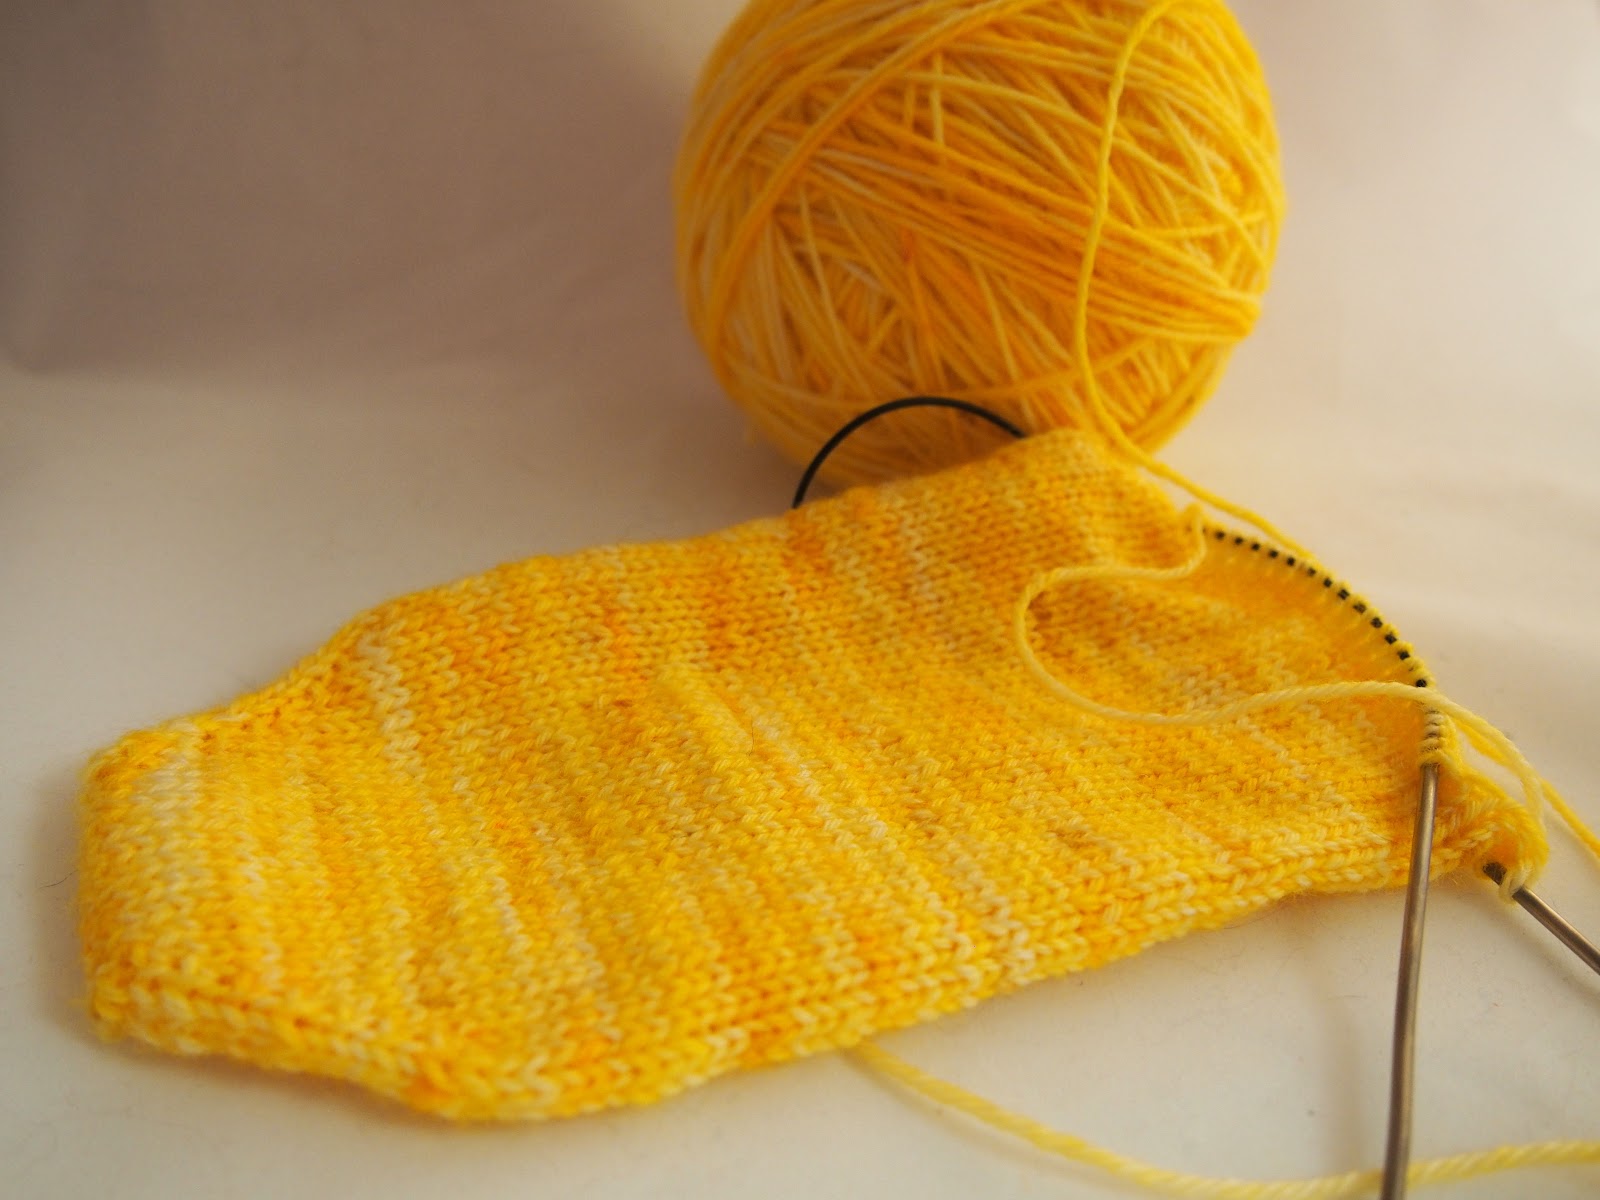
Turning the Heel
This is meant to be the “scary” part of knitting socks! Don’t freak out - just trust the pattern and everything will come together.
I had 48 stitches on heel needle - my original 28 stitches, plus 20 from the gusset increases. You may have a few more or less, and that’s okay. You’ll see that on Row 1 I knit 70% of the way across the heel. After that, the stitches were wrapped and turned in a very predictable pattern. You can absolutely fudge the stitch count here. Just try and do same number of short rows as I have here.
I had 48 stitches on heel needle - my original 28 stitches, plus 20 from the gusset increases. You may have a few more or less, and that’s okay. You’ll see that on Row 1 I knit 70% of the way across the heel. After that, the stitches were wrapped and turned in a very predictable pattern. You can absolutely fudge the stitch count here. Just try and do same number of short rows as I have here.
What are short rows?
Short rows are where you just knit across some of the stitches on your needle, then turn and head back the other way - a short row! This video explains the details.
To turn the heel
This is worked entirely across the heel needle. We will ignore the front needle for now.
Short rows are where you just knit across some of the stitches on your needle, then turn and head back the other way - a short row! This video explains the details.
To turn the heel
This is worked entirely across the heel needle. We will ignore the front needle for now.
- Row 1: Knit 33 or 70% of the way across the heel needle, increase 1, wrap and turn (wt)
- Row 2: Purl 16, increase 1, wt
- Row 3: Knit 14, increase 1, wt
- Row 4: Purl 12, increase 1, wt
- Row 5: Knit 10, increase 1, wt
- Row 6: Purl 8, increase 1, wt
- Row 7: Knit 6, increase 1, wt
- Row 8: Purl 4, increase 1, wt
- Knit around the heel needle, and over the instep, picking up and knitting wrapped stitches as you go. 54 stitches (or your original count + 8) on heel needle
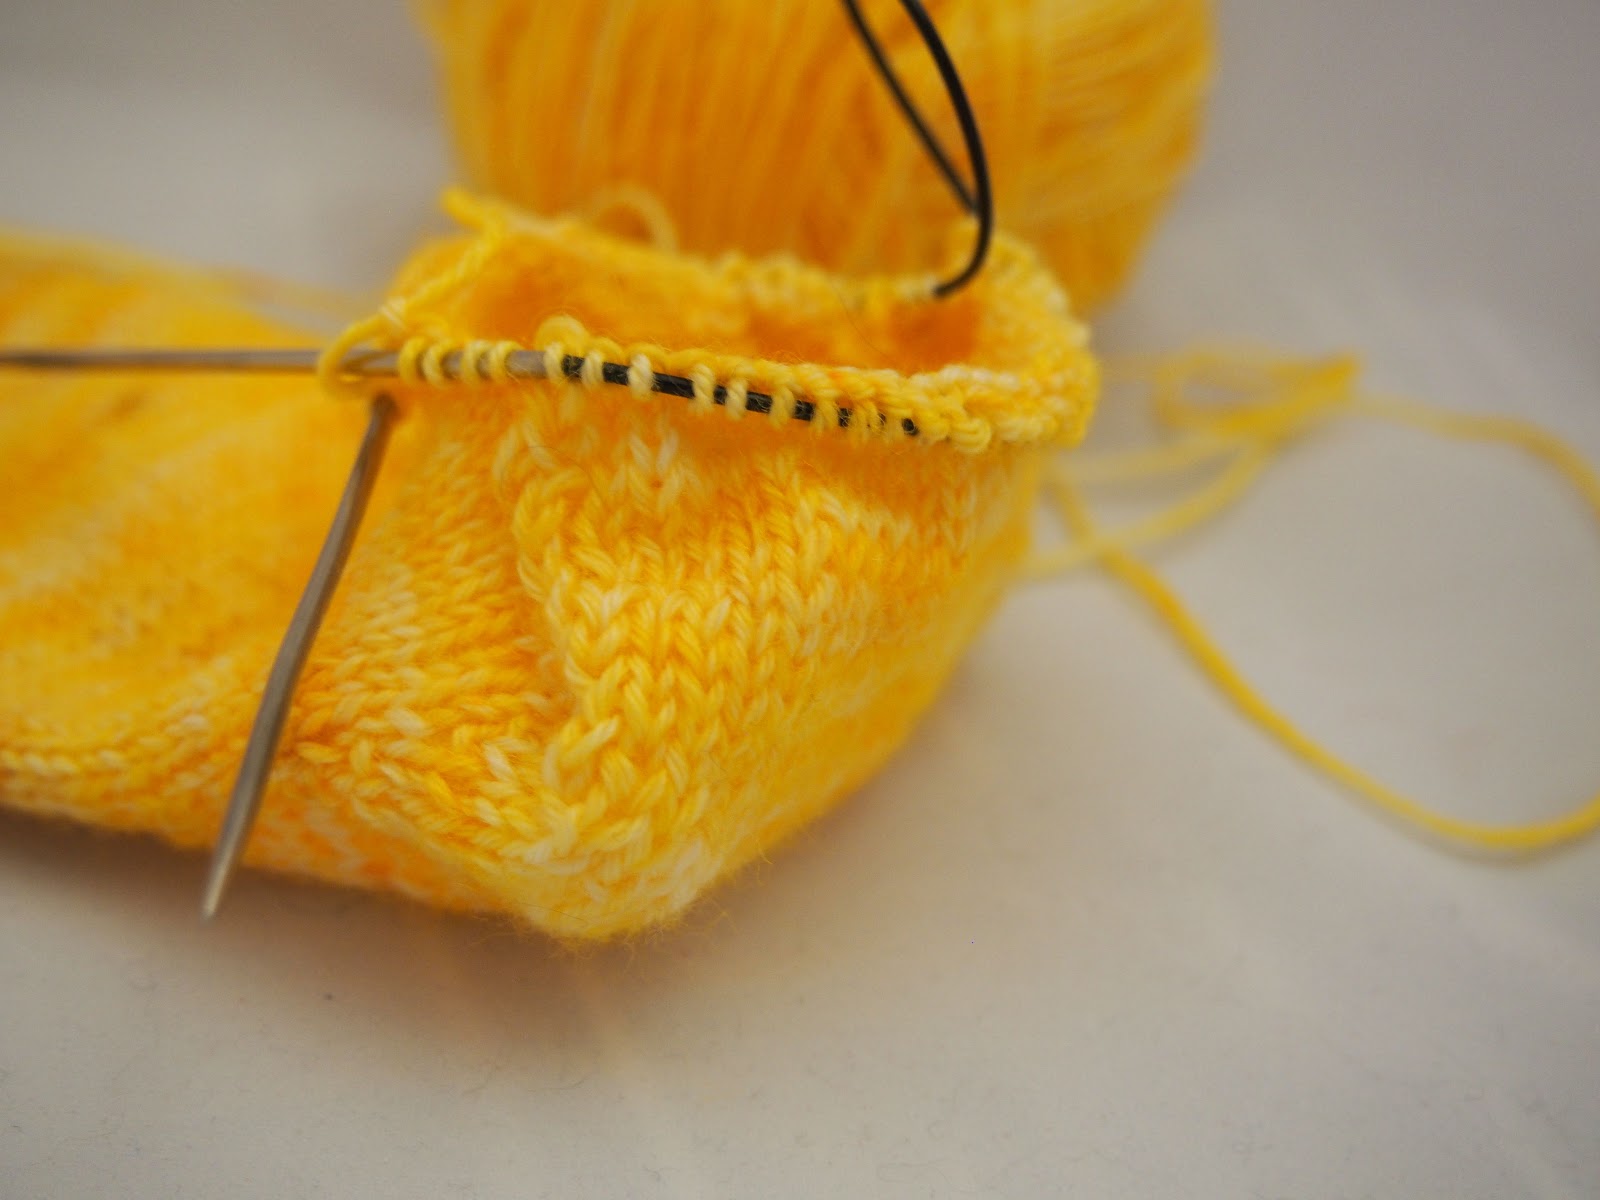
The heel is turned! If you pick up and poke at your knitting, you’ll see you've created a little pocket. This is where the base of your heel will snug into. Next, we’re going to knit the heel flap, while simultaneously decreasing away the extra twenty stitches.
We’re going to knit the heel flap in Blinking Eye of Partridge. The traditional heel flap stitch, Eye of Partridge, is a simple two row repeat which goes like this:
- Row 1: Slip 1, Knit 1
- Row 2: Purl
In traditional Eye of Partridge, all the slips and knits line up in neat rows. In Blinking Eye of Partridge, they fall unevenly, producing a more textured stitch which is just as beautiful in its own way (and a lot easier to work in conjunction with decreases!).
To knit the heel flap (again working on the heel needle only):
To knit the heel flap (again working on the heel needle only):
- Row 1: Knit in Blinking Eye of Partridge (slip 1, knit 1) until 10 stitches from end. Decrease. Wrap and turn (wt)
- Row 2: Purl until until 10 stitches from end. Decrease. Wt
- Row 3: Knit in Blinking Eye of Partridge until you reach the decrease. Knit the decrease and the following stitch together. Wt
- Row 4: Purl until you reach the decrease. Knit the decrease and the following stitch together. Wt
Repeat rows 3 and 4 until you have decreased away all your stitches. Knit around all stitches on both needles.
If you find you have a “gap” where the heel flap meets the front of the foot, simply pick up a stitch from the row below, then immediately knit it together with the next stitch. Or, darn it shut later.
Knit plain around for at least a good inch, or for as long as you would like the sock to be (try it on if it gets too long: you will likely have to add increases should you knit past the calf muscle).
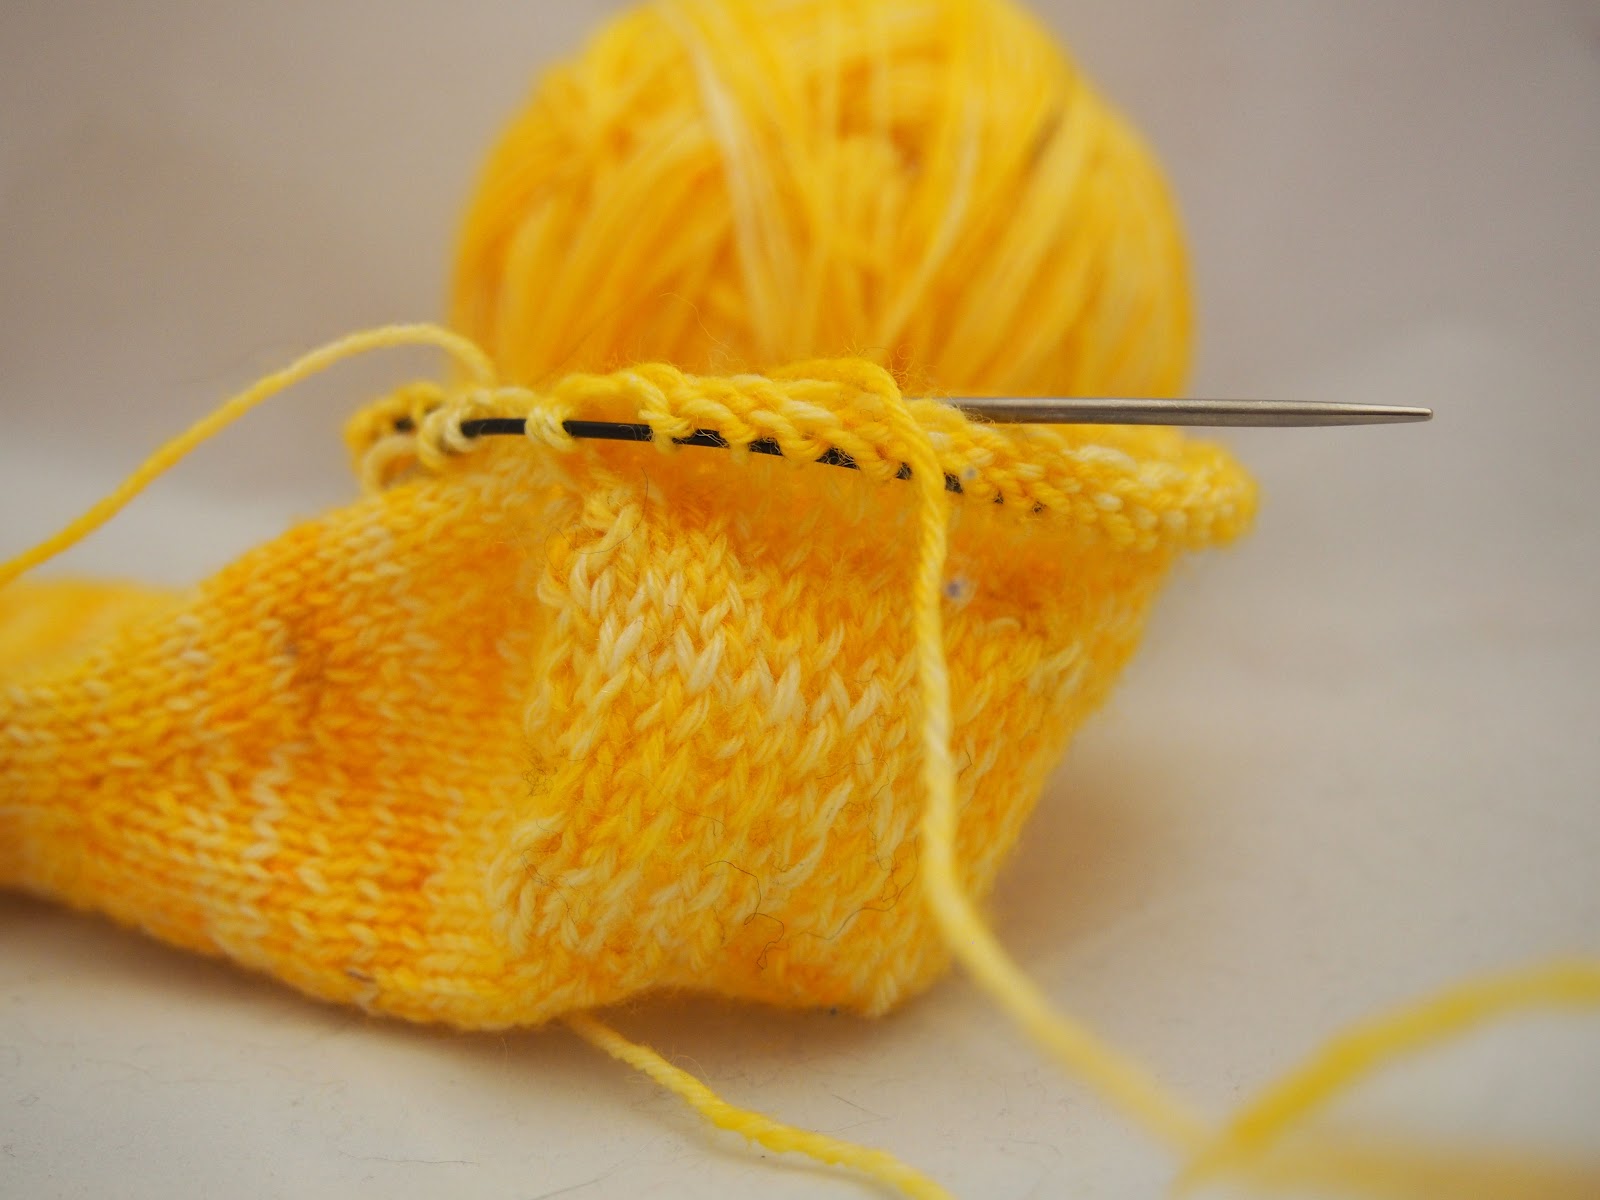
Add at least an inch of 2x2 ribbing (knit 2, purl 2).
Cast off using Jeny’s Surprisingly Stretchy Bind Off. If you don’t already know this method of casting off, be sure to watch the video - it’s a revelation!
Weave in the ends, and you’re done! You've made a sock!
-----------
Thank you Rachel for sharing this tutorial. I love the yarn you used, so pretty!
You can find Rachel on....
Her blog
If you have any questions about this tutorial leave your query in the comments and if I can't help I will ask Rachel for you.
I always like to see what you make from the tutorials on my blog. If you make these socks I'd love to see them so please tag me and Rachel in your social media posts or leave your links in the comments below.
fizzi~jayne x
No comments:
Post a Comment
Thank you for leaving a comment! I love to hear from you, whether you just pop by to say hi, share your experiences or want to give me feedback. I appreciate your comments and love reading them.